One reason I brought out my copy of Battlelore was to see if it would be good for using with my Peter Laing figures. After playing the Battle of Agincourt, the Peter Laings came out and I found that I had enough figures for refighting Agincourt. I also figured to try using Heroscape terrain pieces instead of the Battlelore board. I wanted to use some toy trees that I found in the local hobby store. They didn't stand too well, but by mounting them on plastic squares the problem was solved.
So using all of the above, I set up the game as outlined in the scenario book. At first I wasn't going to use the movement cards and was going to dice for movement, but as I had already played the game once with the cards and figured it would give a better idea how the game played out.
 |
| The Battle of Agincourt. The English Army is on top of the board, French on the bottom. Unfortunately I actually set up the armies on the wrong sides of the board! |
 |
| Looking down the battlefield before the battle. English on left, French on right. |
 |
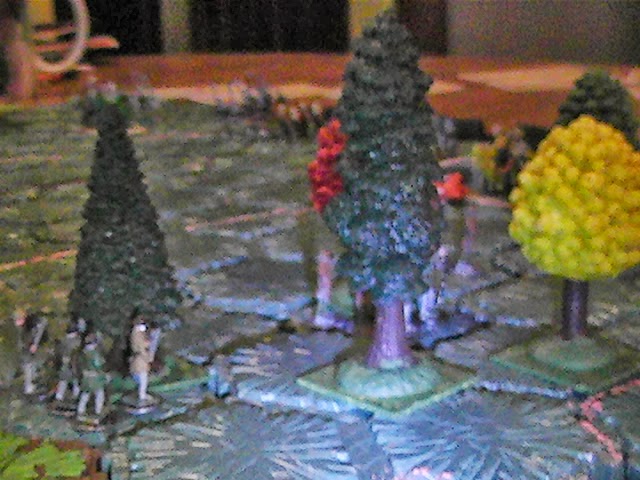
| Looking towards the French from behind the English center. |
 |
| The English start the battle by sending their left flank into the woods and the archers manage to kill one knight and force the others to retreat. |
 |
| However, the French knights catch one archer unit in the open and manage to kill two archers and makes the rest retreat. |
 |
| Mounted units can "pursue" a retreating unit and battle again. Disaster strikes and the knights wipe out the archer unit. |
 |
| The French then draws a card that allows them to advance their center. |
 |
| The English then draws a card (Shown facing the camera) which allows all their archers to battle twice. The English hopes of a devastating volley is not met; they only manage to kill one knight, one medium cavalryman and one men-at-arms. |
 |
| The medium French cavalry hits one of the English men-at-arms unit, killing half the unit. However the English hold fast. |
 |
| The next turn the French hits the man-at-arms unit and completes it's destruction! |
 |
| It then advances and attacks the archer unit, killing two of the archers and making the others retreat. |
 |
| The English turn produces no change in their situation. Now the French attack. The French archers (on the right of the picture) forces the English archers back. The French men-at-arms (on the right of the picture) are about to attack the archers in front of them. The archers are wiped out in the attack |
 |
| The next turn the French archers hit the last of the English archers. At this point the English have lost 4 units and have lost the game. However, the French still have a unit to move and the cavalry presses home their attack on the English foot knights. |
 |
| They force the knights off the field, giving the French a fifth unit destroyed. |
 |
The day is lost. a unit of English archers and men-at-arms stay hidden in the woods.
Once again it was an enjoyable game. Part of me doesn't like the cards dictating what moves you can make. However at the same time I think that it might simulate the problems that a general has commanding different officers under his command and the fog of war.
This game also makes me regret the fact that several months ago someone was selling a Peter Laing Medieval army on Ebay (and was in the United States) and I didn't bid on it. It went unsold and was taken off. That lot would have provided me with more than enough figures for two armies, and then some. |


No comments:
Post a Comment