Sunday, December 28, 2014

2mm Horse & Musket Wargame

     A few weeks ago I was going to have a tabletop campaign, using my 2mm Irregular blocks for my armies. Between the holidays and one of those periods of just lack of interest in gaming, I broke down the board.

   Today I was trying out some ideas with the 2mm landscape pieces and ended up playing a quick game. The field was set up using the Waterloo battlefield as the inspiration.
Th French on the bottom of picture. Hougoumont is on the left center and La Haye Sainte  in the top center of the picture.

The French move forward.

The left most French infantry is hit in the flank by the British cavalry, losing one unit.

The French infantry turn on the cavalry and the cavalry lose one unit.

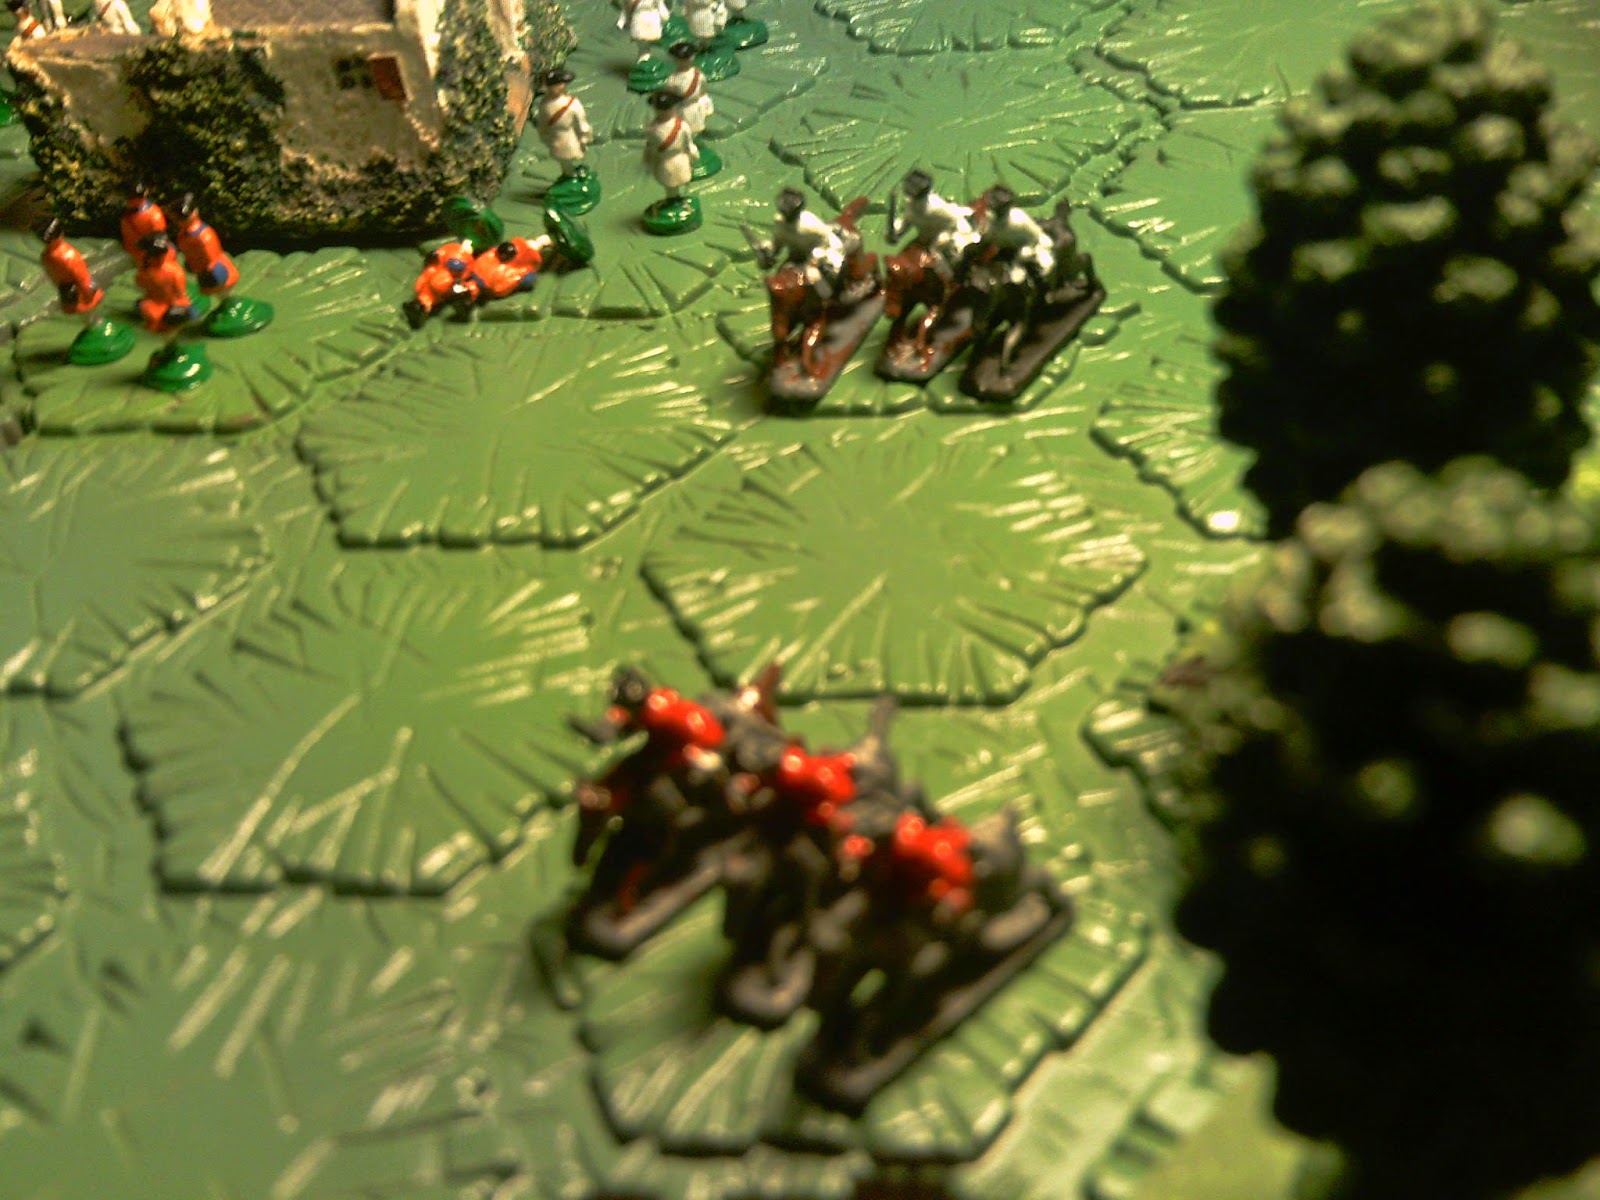
The French close in on La Haye Sainte, while French cavalry push back back the British in the center.

Close up of the French cavalry attack.

The British counterattack. On the left of the picture a column of British advance to come to the aid  of Hougoumnt.

The French cavalry hits the column and causes 50% losses.

The British try to turn the French right flank. The French cavalry in the upper left of the picture is hit in the front and flank and is forced to retreat.


The French finally take Hougoumont.

The British attack on the French right falters.

The French breaks through the British left and divides the British army. The British are forced to retreat. (At this point in the game the British have lost 50% of their units and therefore are defeated.)

The battle field itself is only 9" X 15". It is the top off an old wooden storage box that someone threw away at one of the schools I worked at. 
This is the box. I was trying to make a portable war-game. The figures are Old Glory 10mm ACW figures.

The top reversed to show the battlefield and two units deployed.

Friday, December 26, 2014

New Book & Peter Laing Figures

      I recently got my new Peter Laing Viking figures. The paint jobs might need a little work but they are ready to do battle with my PL Normans.

   My wife wanted to visit her niece in Maryland, so today I dropped her off at the train station. While returning home, I swung by a store that sells discount books. Among the books I purchased was TOY SOLDIERS: A CENTURY OF INTERNATIONAL MINIATURES by Richard Scholl. It is a book about the toy soldiers in the Forbes collection. For the price paid it is a good book. One illustration in it has me thinking of the Peter Laing "toy soldier" project. It shows a sick child in bed surrounded by his toy soldiers, with the poem "The Land of Counterpane" by Robert Louis Stevenson on there facing page. The soldiers in the picture might make a good unit for my Peter Laing armies.
Peter Laing Vikings; chieftain on right.


More PL Vikings.

PL Viking archers.

Viking on horseback. Actually this figure has a cut down shield and is actually a Norman figure.

The book mentioned.

" The Land of Counterpane" by Jessie Wilcox Smith

Sunday, December 7, 2014

An 18th Century Wargame

     While I have been working on Dark Ages armies the last couple of weeks, my intention was to use my new Peter Laing Normans and Picts, I really couldn't find a scenario to my liking in the short time I had. I decided just to have a game using my 18th century toy soldiers. I am still not sure of the manufacturer of the infantry.  I used the idea of picking two armies by dice rolls used in ONE HOUR WARGAMES, except I increased to number of units to 8.  The terrain was laid out using an idea from William Silvester's THE SOLO WARGAMING GUIDE.

    The game was simple itself. There was a village in the middle of the field and both sides wanted to occupy it. The battle ends when one side looses 4 units. Whoever controls the village at that time wins. The rules used are Bob Cordery's MEMOIR OF BATTLE.
The start of the battle. The British are in the foreground, the French can be seen behind the village and woods.


Both sides jockey for position.


The British win the initiative roll and take the village. The British just stormed ahead without engaging the French.

On the French turn their cavalry hits the British cavalry on the flank.

The British cavalry retreats with the French on their tail.

The French start working around the village.


Another view showing the French attack.

The French cavalry continue to rout the British cavalry.

The British inflect losses on the French, but can't push them back. The French continue to push the British line back.

Another view from above.

The French cavlry drive the British cavalry off the field of battle.

The French finally takes the village and push back the British line, where no unit is within range of the village. The British have also lost 5 units at this point; they have lost the battle.

Another view of the French capture of the village.

It was good to get a game in. However, it just turned into a rush for the village with both sides just pouring their units into the attack with no real trying to outmaneuver the other side.  This game has me rethinking my next war-game project. I've started to plan my next game. If my plans move forward, my Peter Laings will be taking a rest from the game. 

Sunday, November 30, 2014

Napoleonic Battle for Bridgehead

      When I first got back into wargaming, my interest peaked when I used some 15mm Heritage Napoleonics received on Christmas in the 70s.  I was looking at them last week and decided to have a war-game with them again. I used scenario # 5 from ONE HOUR WARGAMES. This involved establishing a bridgehead with both sides receiving reinforcements piecemeal.
The Auustrians have found a river crossing that is unprotected.  The Austrian general deploys a battery while waiting for his infantry to come up. Two French infantry regiments are coming up on its' left flank.


The first Austrian infantry regiment comes up to support the guns.

But a French light infantry regiment attacks first and forces it  back.


French reinforcements come up behind the Austrian line.


One Austrian regiment brings the French light infantry under fire, distracting them from the regiment on the bridge.

The Austrian crossfire on the light infantry gives the infantry crossing the bridge time to deploy.  The Austrian battery turns to try to fight off the approaching French lancers.

The lancers force back the battery and the French infantry force back the Austrian infantry.

The French lancers overrun the battery and surround the Austrian general.

The Austrians receive another regiment and counterattack. One regiment saves the general and push back the lancers.

More French infantry comes up and gets the Austrians in a crossfire. The Austrian general at this point is killed by a Swiss regiment coming on the right flank.


The French have overrun two more Austrian regiments and the light infantry regiment has broken the Austrian regiment that has been firing across the river. The Austrians fall back.

Another view of the end of the battle. The Austrians lost four units and their general, the French lost no units, although three units were down to two or one figures.

I found an old camera that works better than my cellphone and the other camera I was using. I had the gaming table set up under a window for natural light, unfortunately it was dark out before I played the game and didn't set up any more lighting.

Sunday, November 23, 2014

Peter Laing Crusader Wargame

I was determined to get a war-game in today, using my new Peter Laing Norman figures. I decided to use the first scenario in ONE HOUR WARGAMES.   As explained in the book "Two armies are facing each other over a symmetrical battlefield." Both baselines have a hill in the center. Another feature that I like from the book is that both sides have the same number of units, but you roll to determine the composition of your force.  What's more, if identical armies are generated, players should re-roll until there are two different forces. I used my modified BATTLELORE rules on Heroscape terrain.  Unfortunately, the photos were taken using my cellphone and 4 cups of coffee did little to steady my hands!
The Crusader army. Three knight units, one archer unit and two skirmisher units.

The Saracen Army. Three knight units, two men-at-arms units, and a skirmisher unit.

The Saracen cavalry closes too fast for the archers to fire effectively.

The Saracens drive the Crusader knights back and overrun the archers and one of the skirmisher units.


The Crusader Princes' unit is eliminated and the Saracen cavalry divides what's left of the Crusaders.

The end of the battle. I got interrupted half way through the battle and didn't get back to it after dark.

        The Scenario made for a quick, fun game. I think I will work on using the way of choosing armies, but increasing the size of the armies to 8 units each. 6 units makes for a quick game, but using BATTLELORE rules makes for too quick a game. ONE HOUR WARGAMES has 30 scenarios, all that look perfect for my way of gaming.  I'm also thinking of trying a squared grid battlefield that might make using scenery easier than HEROSCAPE.  Now to try to work on my photography again.